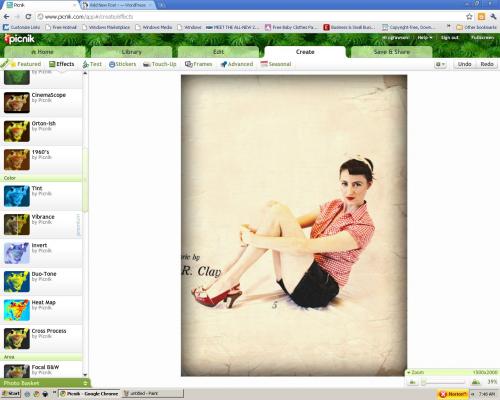
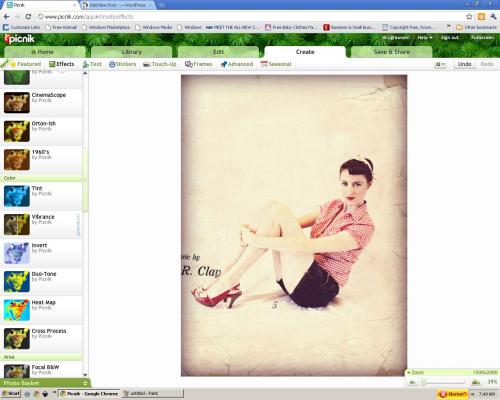
I have been getting a lot of questions about my pin up photos so I thought I’d do a few tutorials on those that I hope will answer some questions and get you feeling confident to go do your own. For this tutorial I am going to walk you through how to take an unedited pin up photo and turn it into a vintage style pin up poster using a photo editing site called Picnik. If you’d like more tutorials on how to take and edit pin up photos, check out my past posts under “photography and editing“. My most recent pin up photos in my “More Pin Up Inspiration” post were actually edited with my new PS Elements 8 software (thanks Courtney and Jared!), but I will show you how to edit to pretty close the same quality without buying photoshop or other editing software. How great is that! If you like editing photos and creating awesome effects on your images I suggest you upgrade your Picnik account to “premium” and tons of fabulous extra features will be opened up for you. It is a good deal for all that it has to offer. I especially love the simplicity of Picnik. Even though I have photoshop now, I still use Picnik a lot because it is quick and easy. To do this tutorial you will need to upgrade to a premium Picnik account to have access to the “layering” feature.
Here we go.
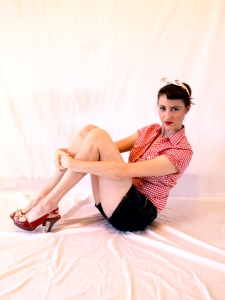
1. Assuming you’ve already read my past pin up posts and taken some fabulous shots for yourself, open your saved photo in Picnik. Mine looks like this:
2. In your first screen (should be under the “Edit” tab) play with the “colors” button if you need to. I shot this under a kitchen light that made it a little warm so I am going to play with the saturation and temperature to try to get it a little cooler. Also, play with the “exposure” to blow out the white background a bit without loosing the detail in the subject. The “advanced” tab in “exposure” is great for fine tuning a bit.
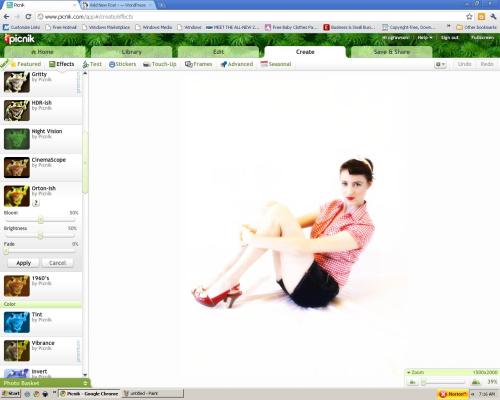
3. There. Thats a bit better. Next go to the “Create” tab (you can first go to the “Touch Ups” tab if you want to whiten teeth and remove blemishes), and click on “Effects” to pull up the effects toolbar. Then you can play around a bit in there but I’m just going to go down to one of my favorites, “Ortonish” and open that up.
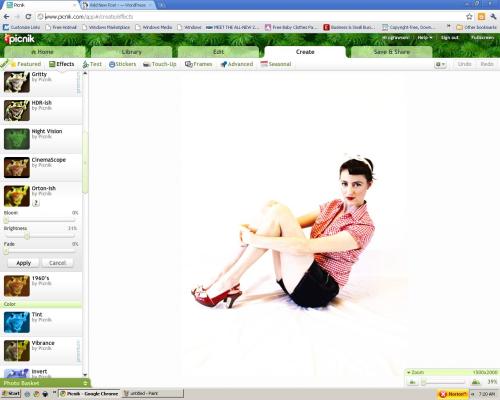
4. “Ortonish” adds sort of a dreamy/brightening effect. I don’t want it looking dreamy necessarily though so I’m going to play with this and slide the bloom down to 0% and the brightness to about 30%. Find what works for your photo.
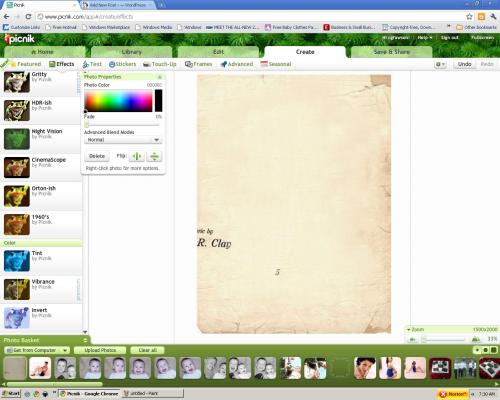
5. Now its time to add your poster layer to the photo. First, you’ll need to find an old crumply paper texture to apply to your photo from either the web (there are tons of free ones out there, just google it), or you could just crumpled up and distress a piece of paper yourself and take a clear picture of it. If you upgrade to the “premium” setting on Picnik they also have textures on the toolbar you can apply. So run along now and find a texture layer you’d like to use…
6. Got it? Okay then, save it to your computer and then go to the little green tab at the bottom left hand side of your Picnik screen called “Photo Basket”. Click on it and then click on “Upload Photos” and upload your new texture photo. It will then appear in your little archives band at the bottom of the screen.
7. Click on your new texture photo and drag it on top of your photo. Resize it to cover the entire photo.
8. Then, using the “photo properties” box that should be popped up under “advanced blend modes” find “multiply”.
9. If you’d like you can find “Film Grain” on the effects toolbar and add some grain to vintage-i-fy your poster even more. I added light filmgrain at 40%. You can also find “Vignette” on the effects toolbar and add that if you’d like. I set the vignette size to 29 and the strength to 0%.
10. If you’d like to give it a “color washed” look you can find “Tint” on the effects toolbar and play with that a bit. I used a pink tint color set to “screen” under advanced modes and then faded it to 60%.
11. Then you can even wash it out further by going back to the top to the “Edit” tab and playing again with the exposure and contrast. I increased the exposure to 4 and decreased the contrast to -8.
And thats it! Pretty cool huh! You will become addicted to this kind of editing and soon you’ll find yourself hunting for textures everywhere! Hope it was helpful! Now go have some fun!

